How to Connect an AWS S3 Bucket with WP Cloud Media
Follow these steps to connect your AWS S3 bucket to WP Cloud Media for seamless file storage and delivery:
1. Generate Access Credentials #
-
Log in to the AWS Management Console. #
-
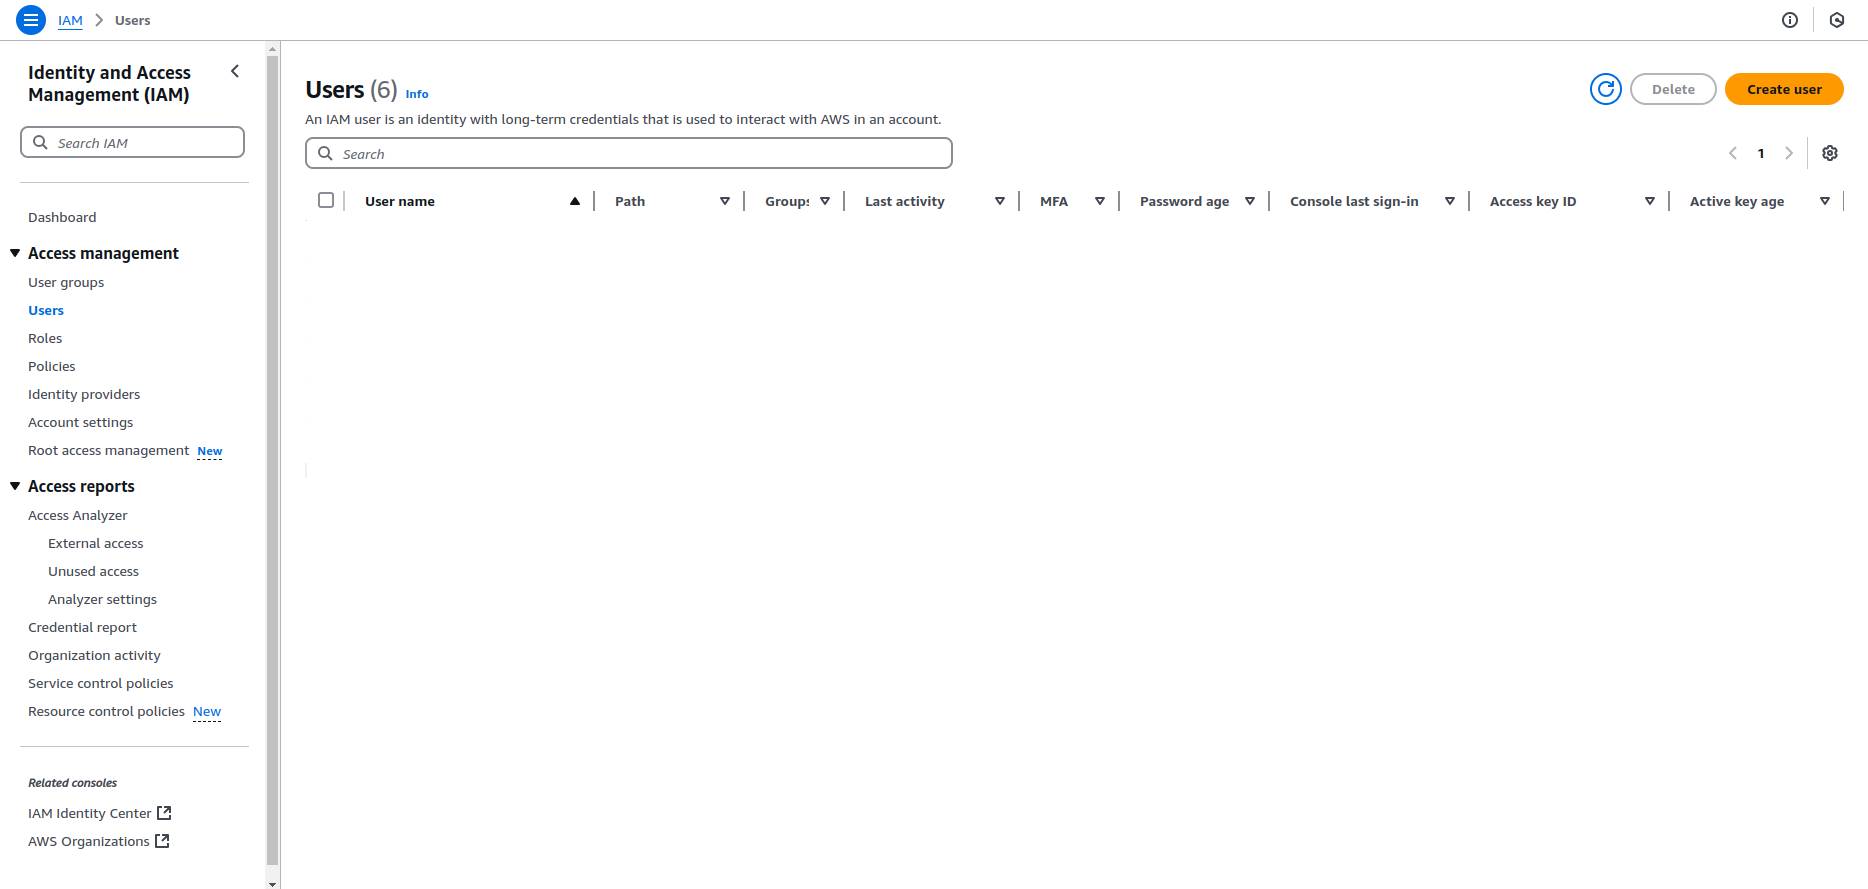
Navigate to IAM (Identity and Access Management) and click on Users. #
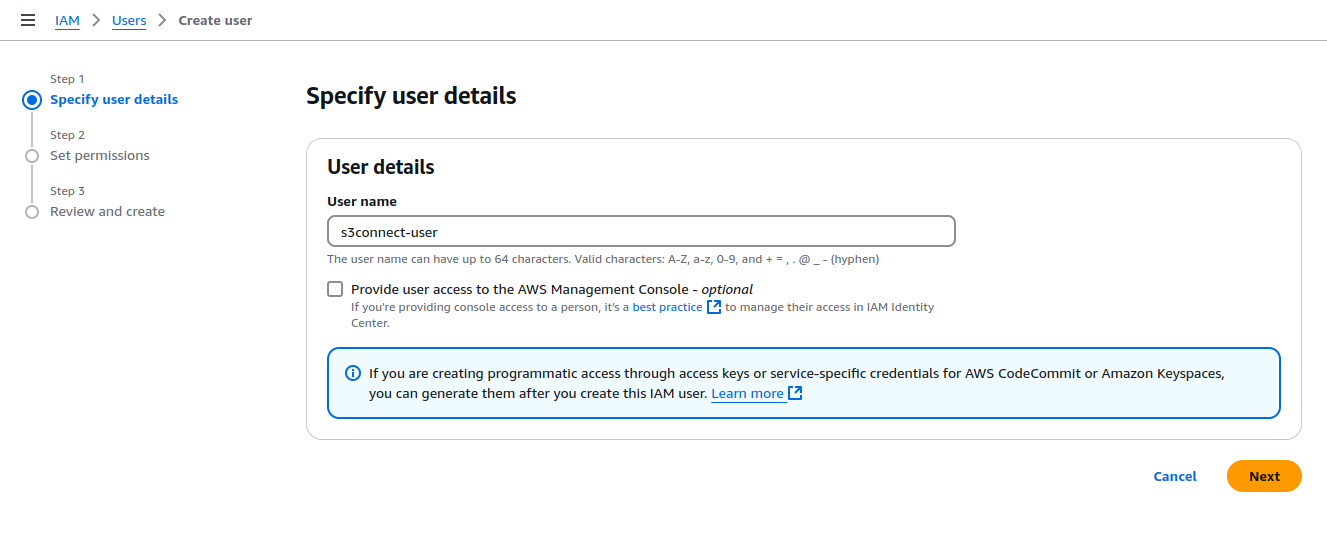
3. Click Create User and: #
-
- Enter a username (e.g., wp-cloud-media-user).

- Enter a username (e.g., wp-cloud-media-user).
4. Set permissions to the user: #
- Choose Attach Policies Directly.
- Select AmazonS3FullAccess (or create a custom policy with specific permissions for your bucket).
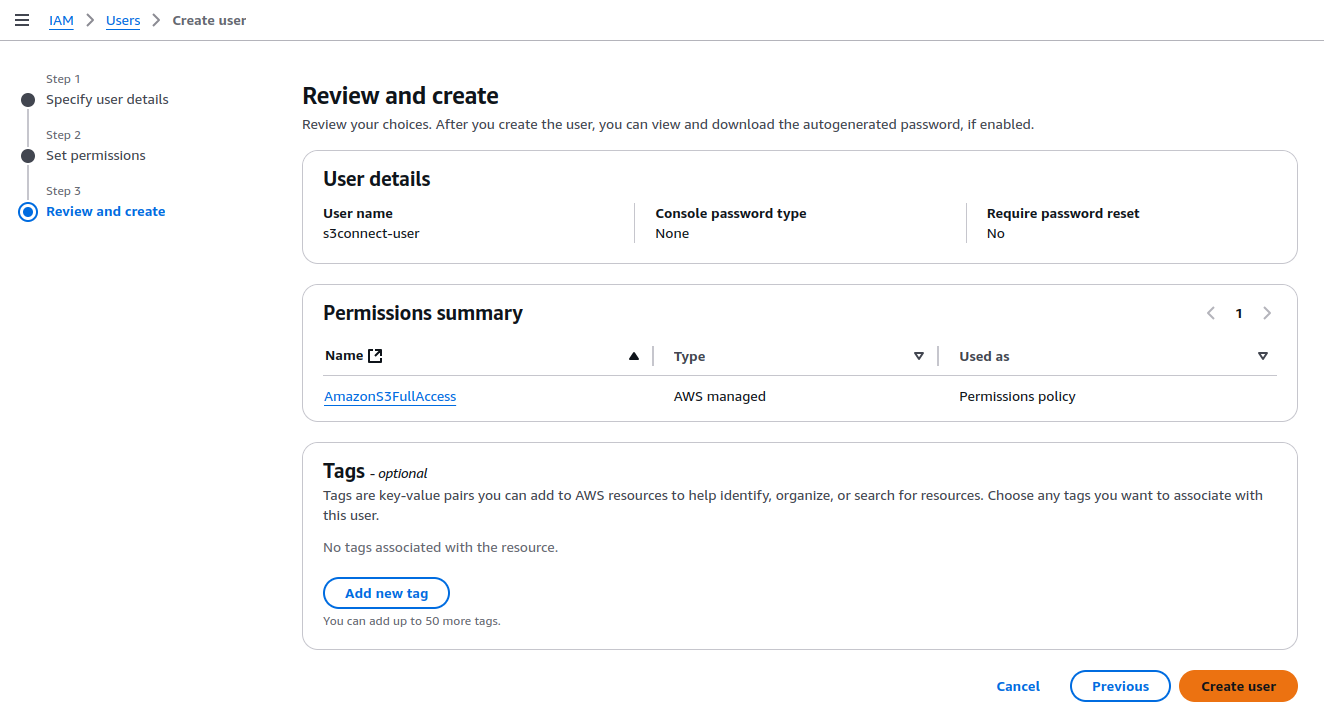
5. Create User #
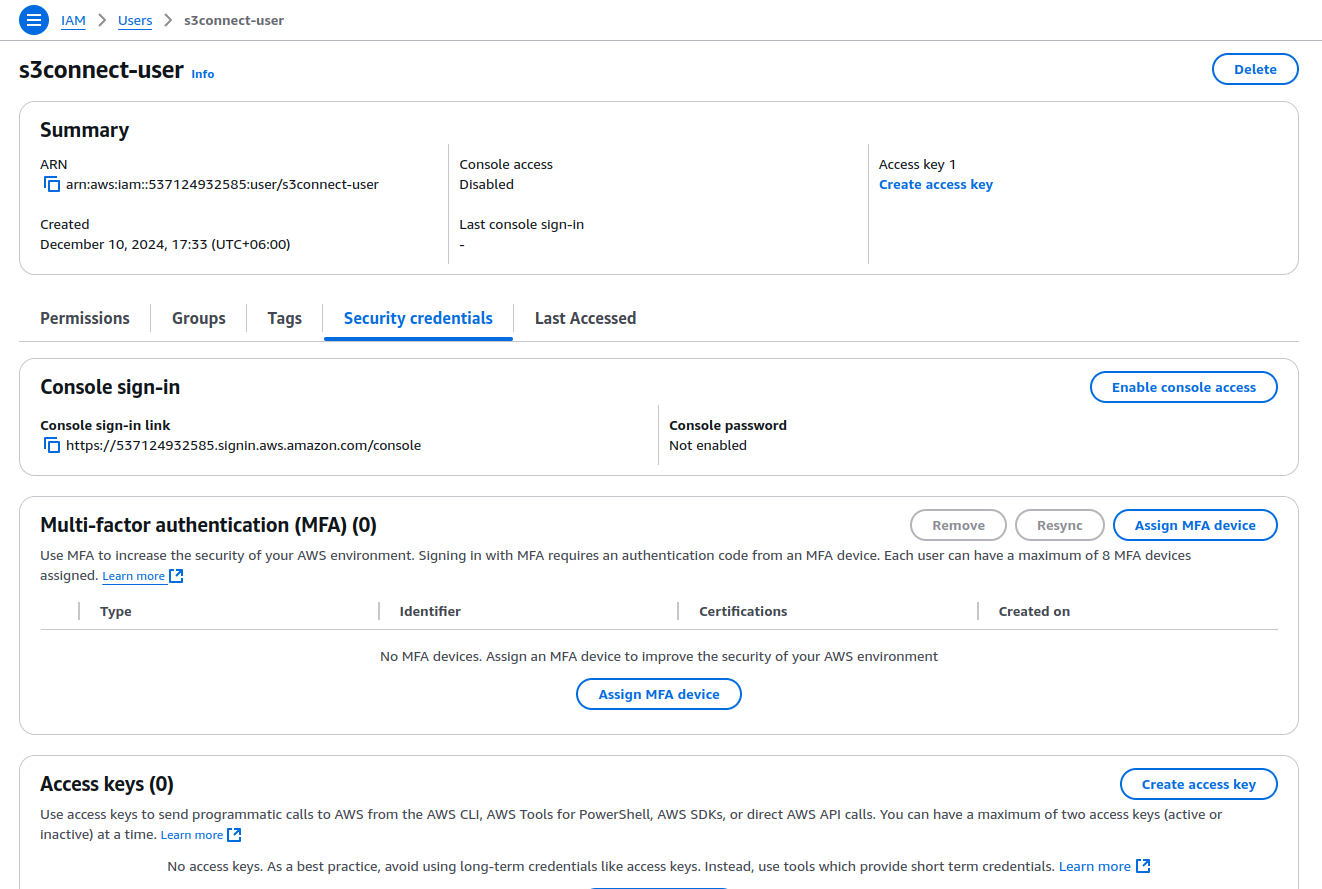
6. Select user to add security credential #
Select created user 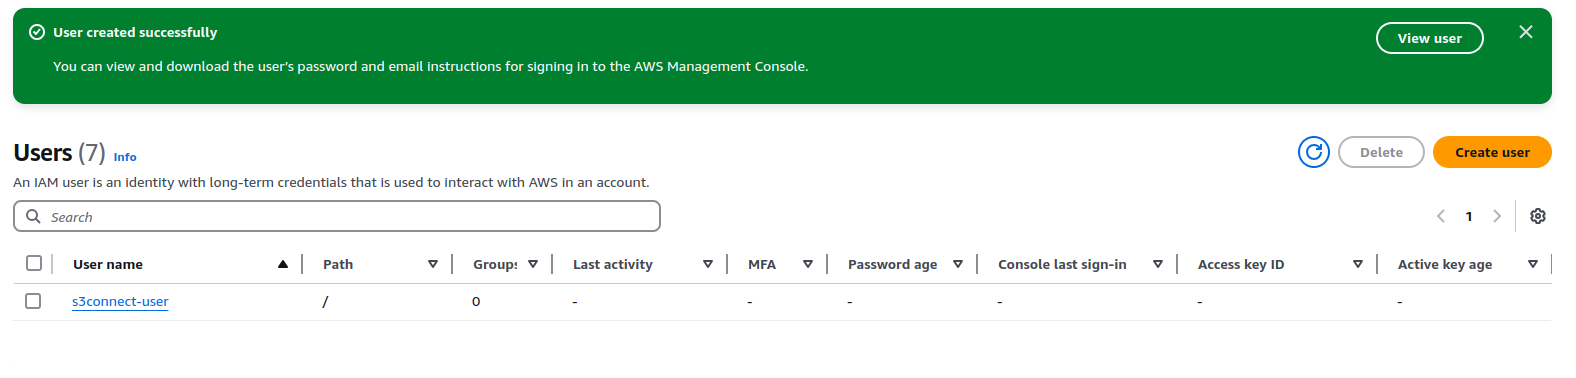
- Go to Security Credential tab and click on Create access key button

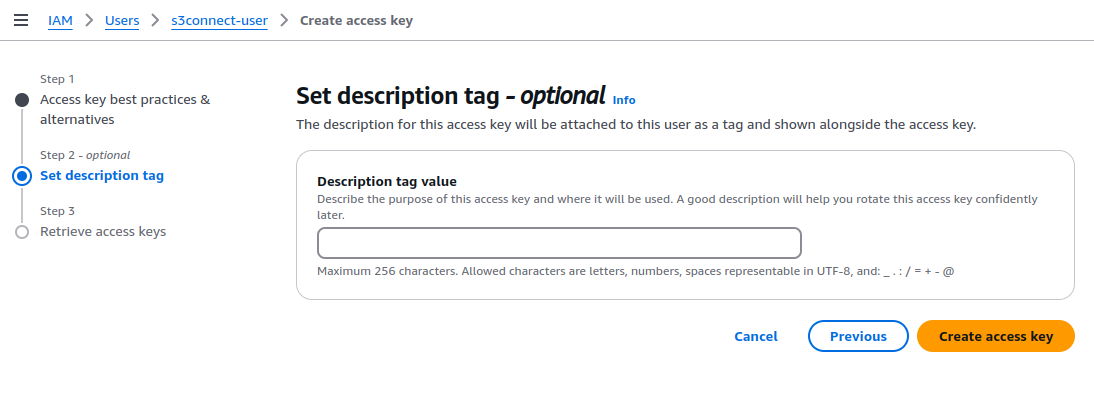
- Select Application running outside was

- Create Access Key

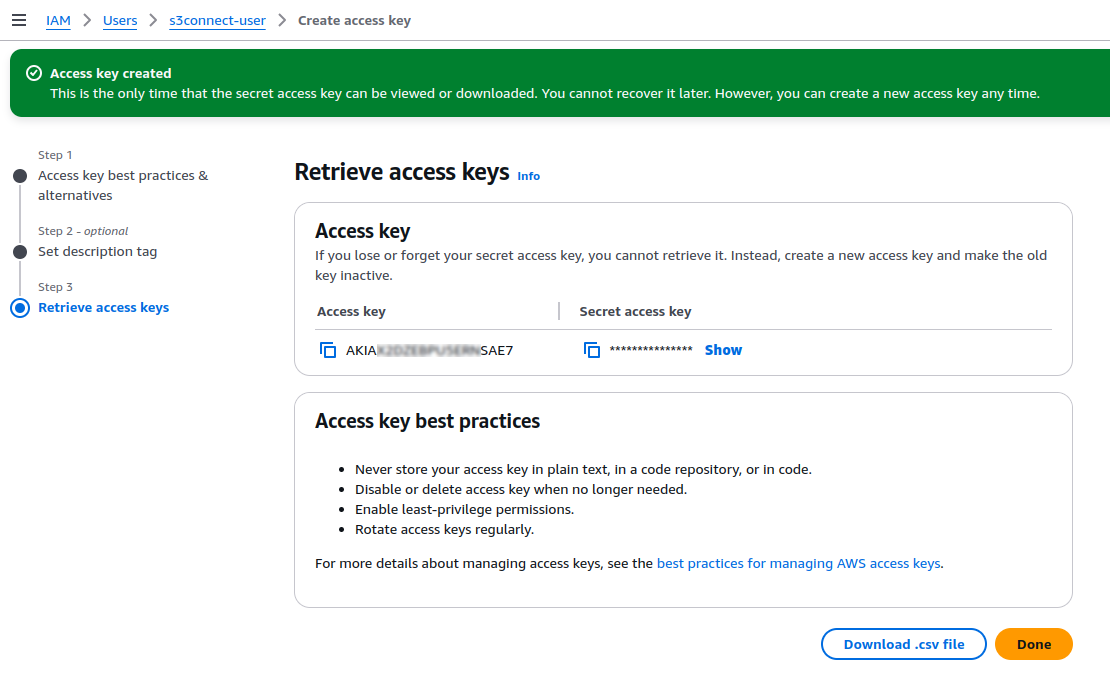
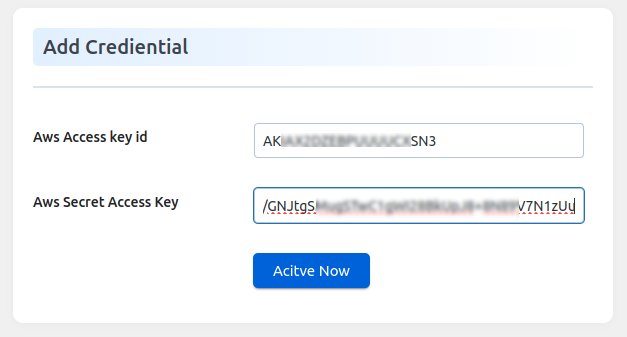
- Complete the setup and download the Access Key ID and Secret Access Key. Keep these credentials secure as they’ll be needed in the plugin configuration.


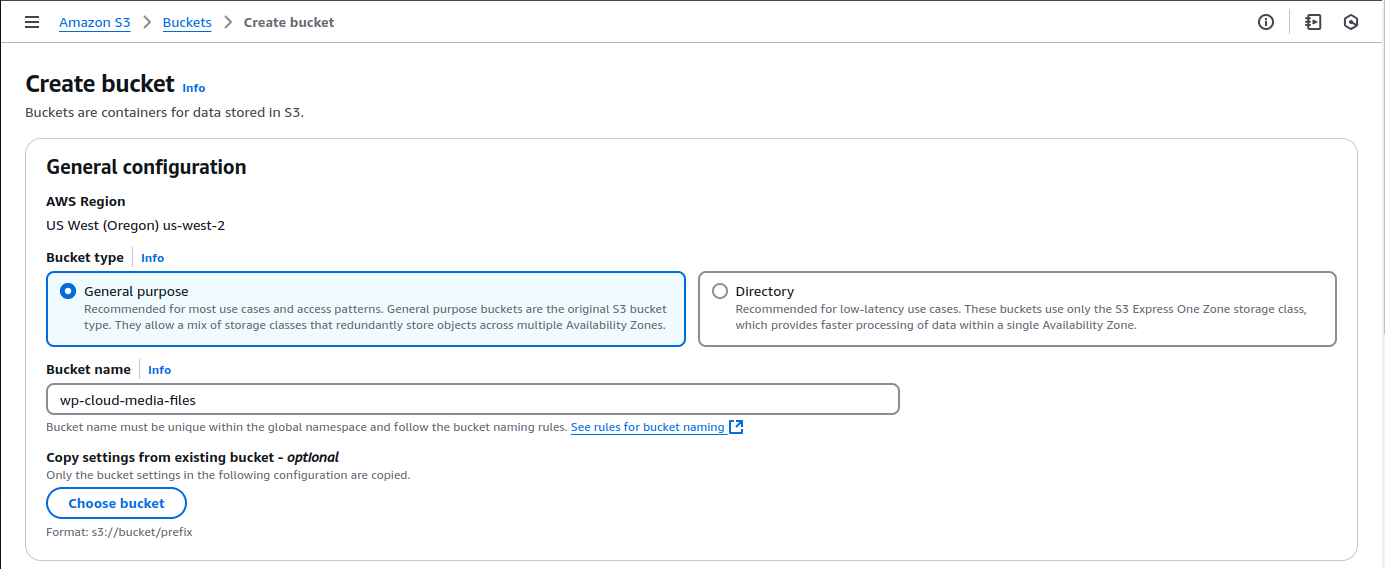
2. Create an AWS S3 Bucket #
- Navigate to S3 in the AWS Management Console.
- Click Create bucket and:
- Enter a unique bucket name.
- Select Object Ownership to ACL Enabled

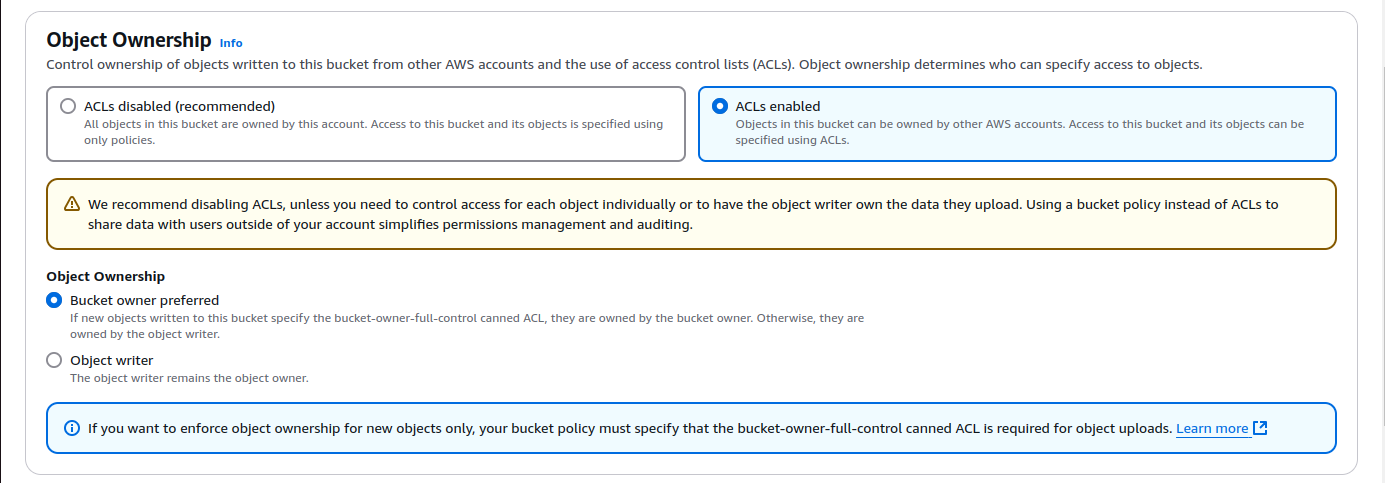
- Allow Public Access to the bucket.

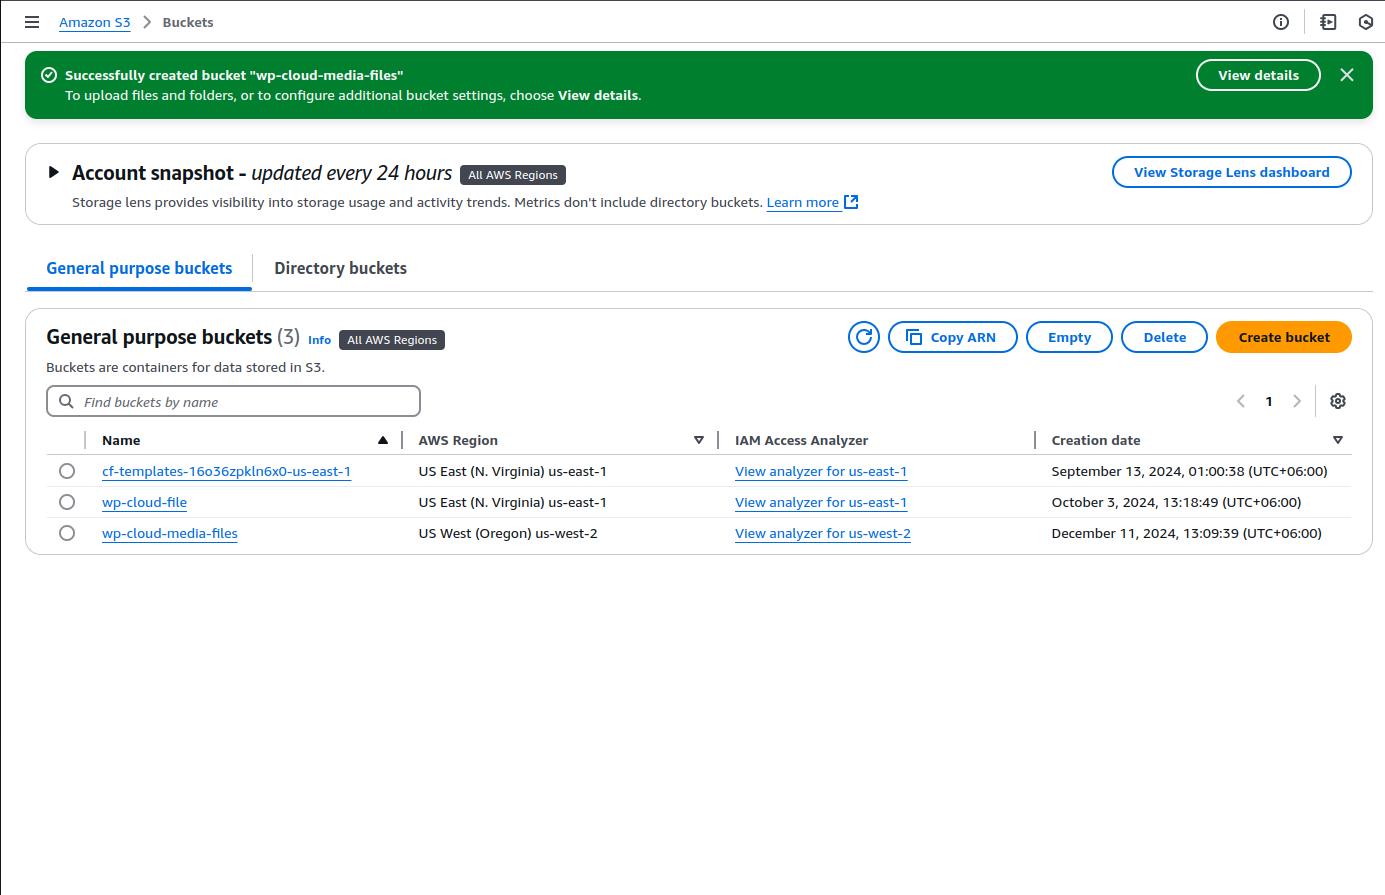
- Click Create bucket to finish
3. Configure WP Cloud Media for AWS S3 #
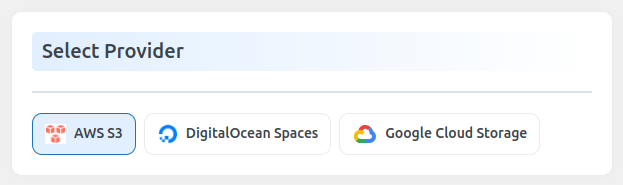
Step 4.1: Select Provider #
Go to the plugin settings and select AWS S3 as your cloud storage provider.
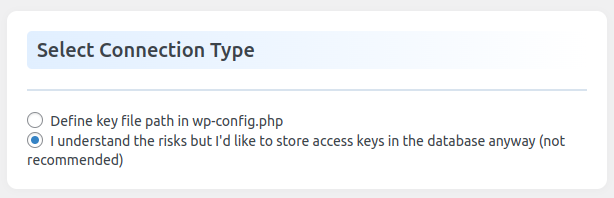
Step 4.2: Choose Connection Type #

Define Key File Path in wp-config.php (Recommended):
Add the following to your wp-config.php file:
define( ‘WPHOOP_CLOUD_MEDIA_CONFIG’, [
‘provider’ => ‘aws_s3’,
‘access-key-id’ => ‘YOUR_AWS_ACCESS_KEY_ID’,
‘secret-access-key’ => ‘YOUR_AWS_SECRET_ACCESS_KEY’,
]);
- Store Access Keys in the Database (Not Recommended):
Enter the AWS Access Key ID and Secret Access Key directly in the plugin settings.
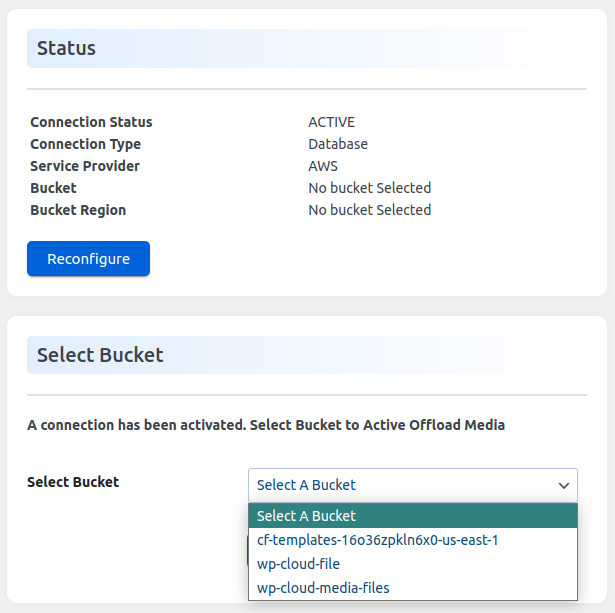
4. Select Storage Bucket and Save #
After adding credentials, the plugin will fetch a list of your existing AWS S3 buckets. Select the bucket you created earlier from the dropdown menu.
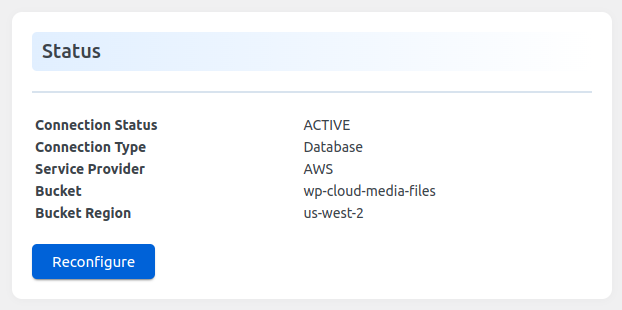
Your AWS S3 bucket is now connected, and WP Cloud Media is ready to sync your file.